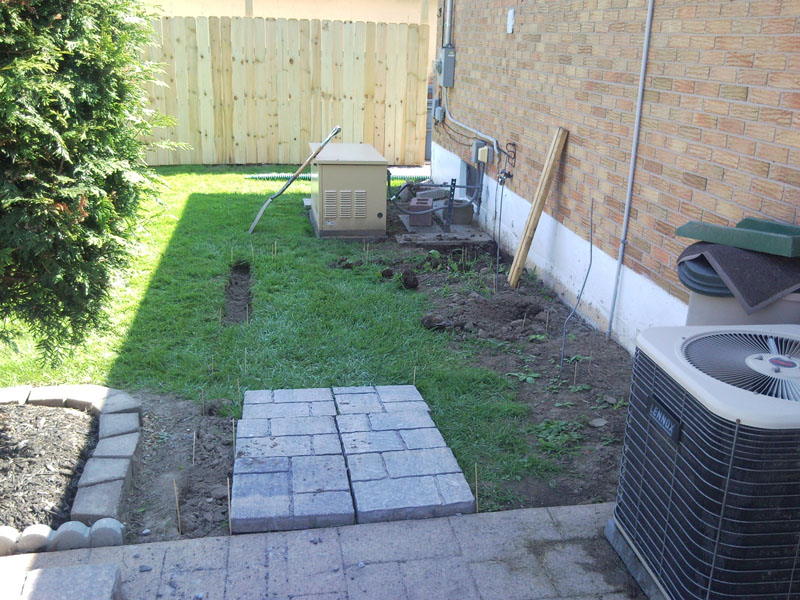
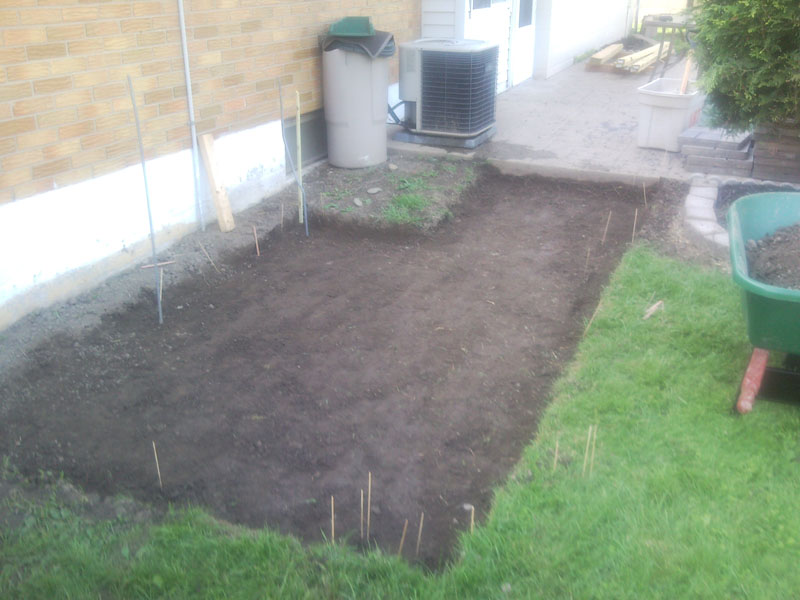
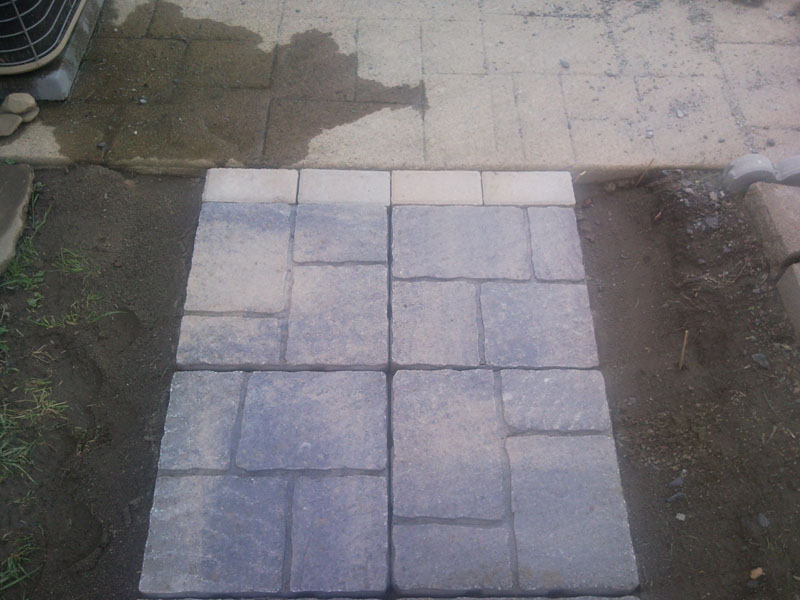
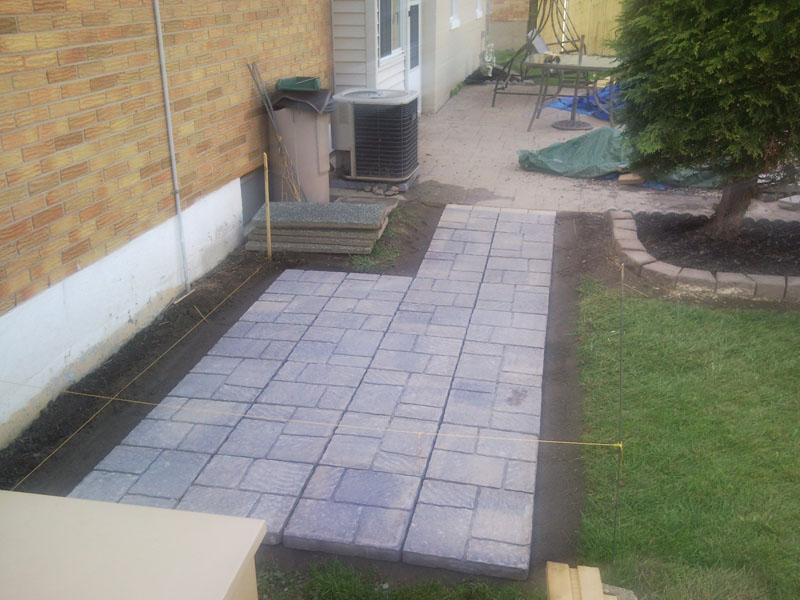
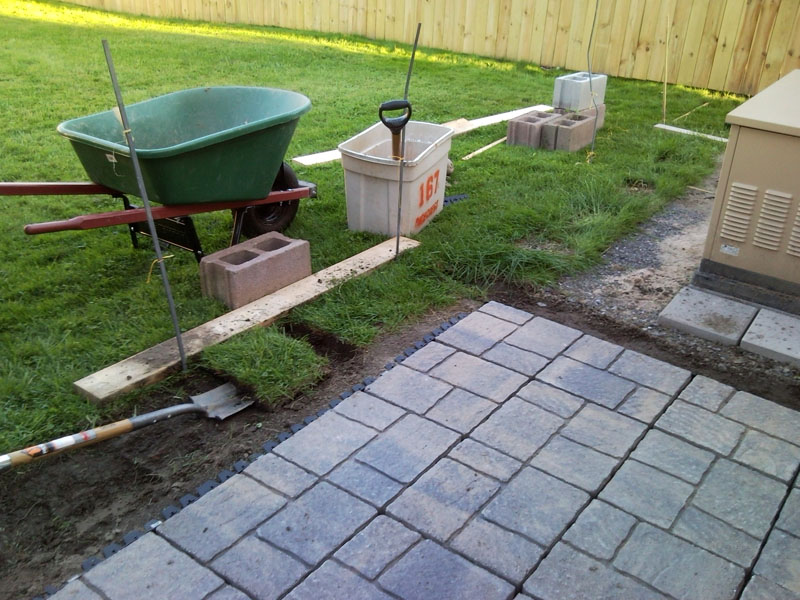
Paver layout plan start. View from existing patio looking toward rear right corner of house.
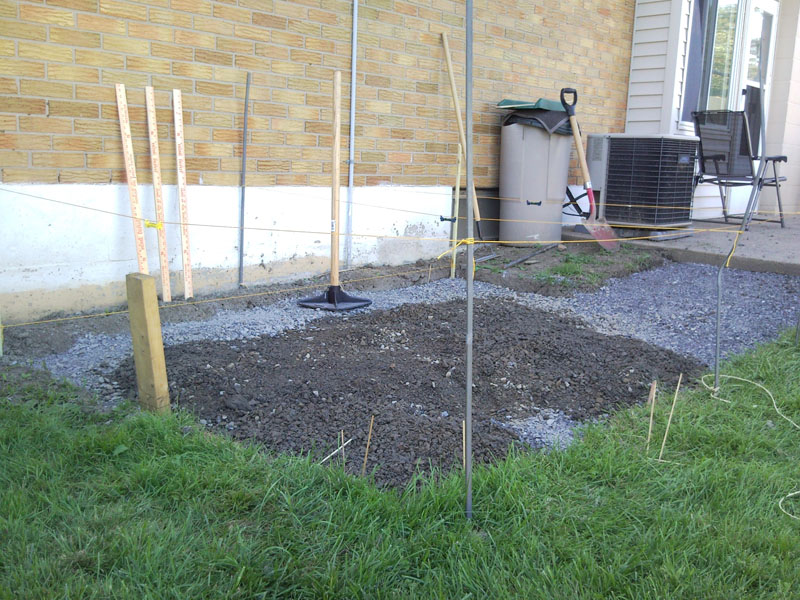
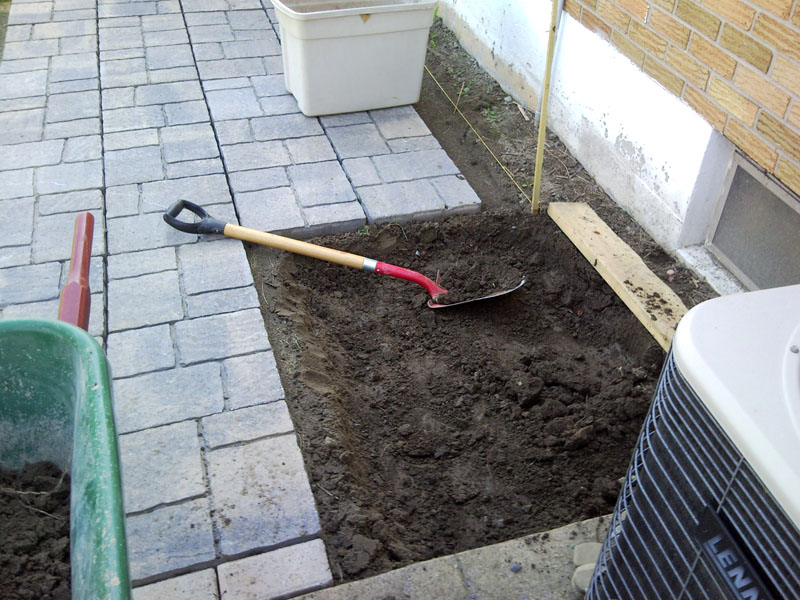
Paver patio pit - dug shallow amount for outline
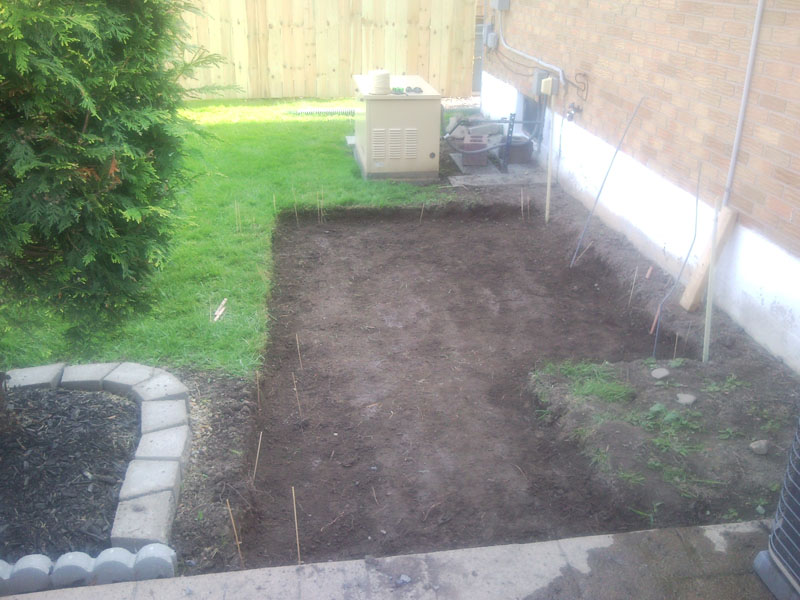
Shallow pit from opposite side, looking toward existing patio and back door
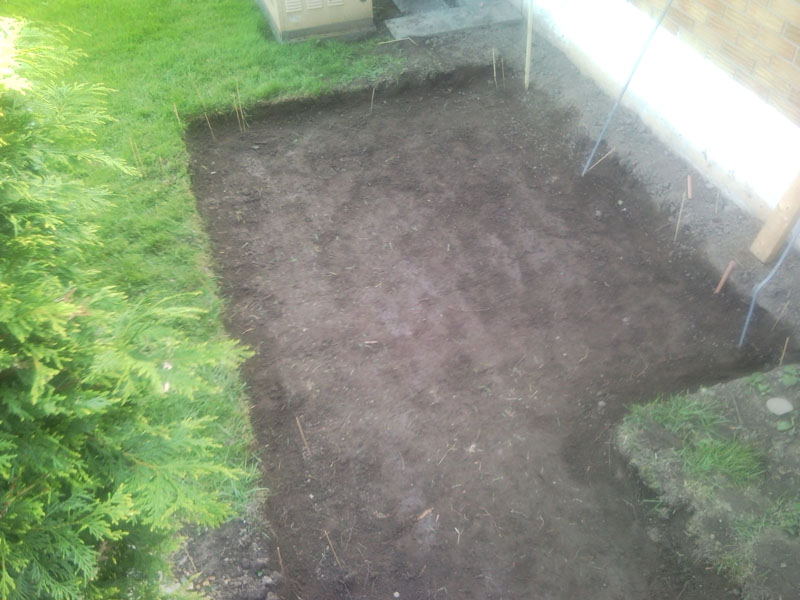
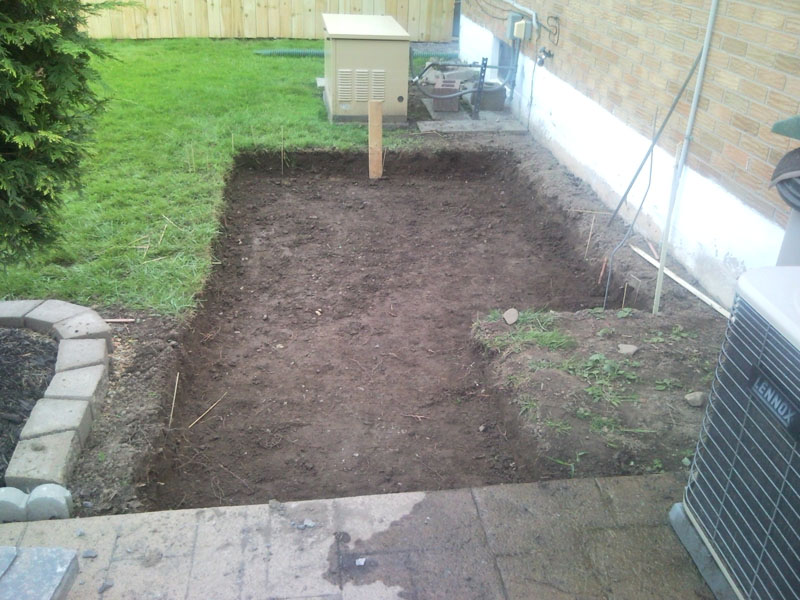
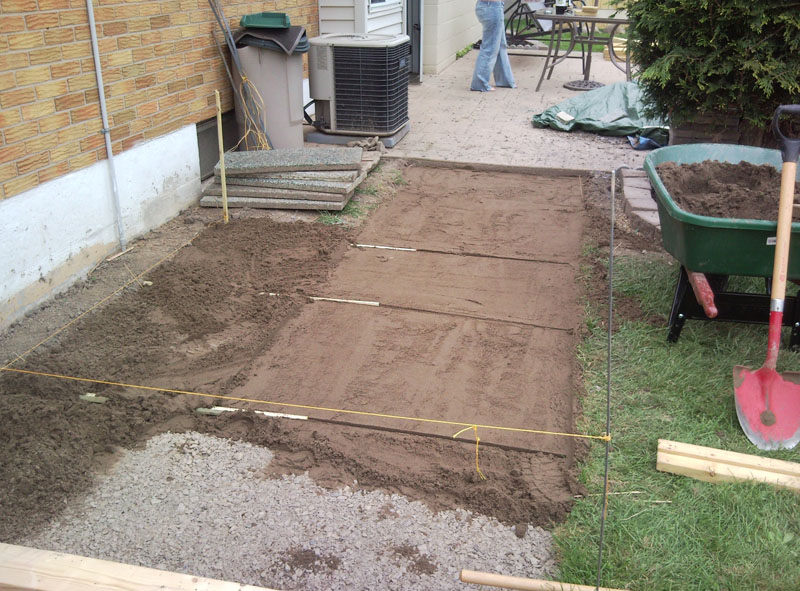
Paver patio pit, dug to full depth, view from existing patio looking toward rear right corner of house
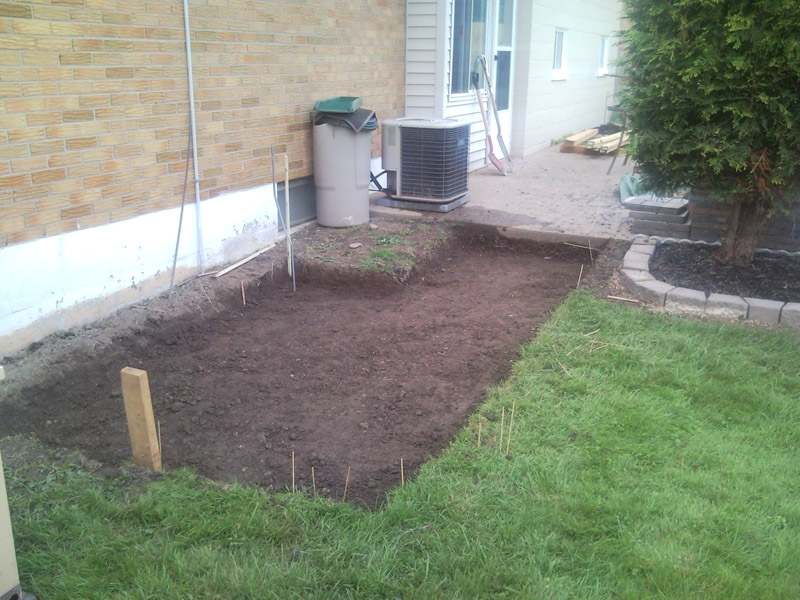
Paver patio pit dug to full depth, view from opp side looking toward existing patio and back door
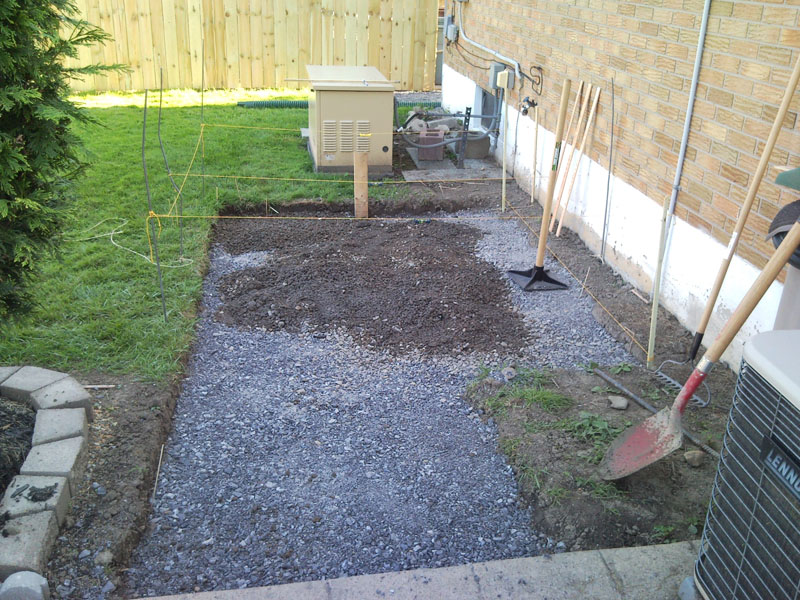
Paver patio pit full of several inches of gravel, leveling with stamper. View from existing patio twd rear right of house.
Paver patio pit full of gravel and being leveled with stamper.. view from opp side facing existing patio and back door.
Paver stones for use on patio, stacked.

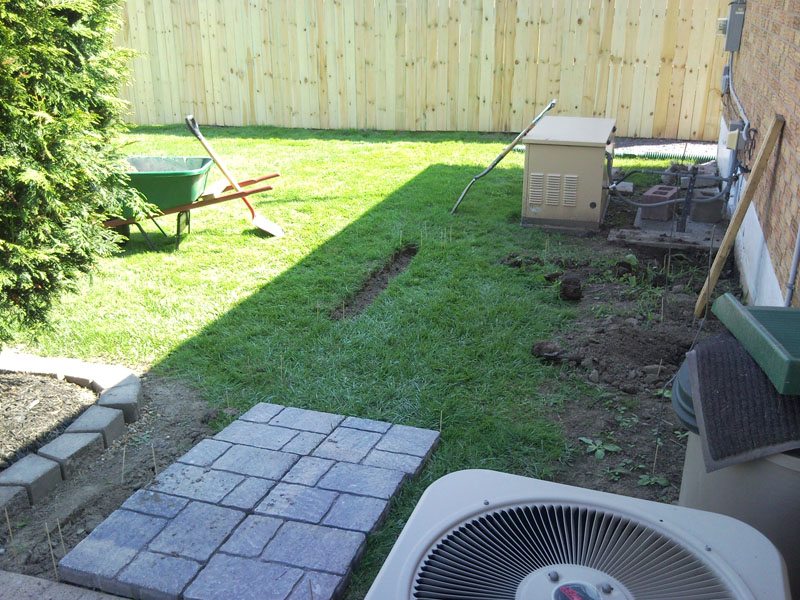
Back yard progress on fence.. view from existing patio toward rear left corner of yard where there is a pond and a shed

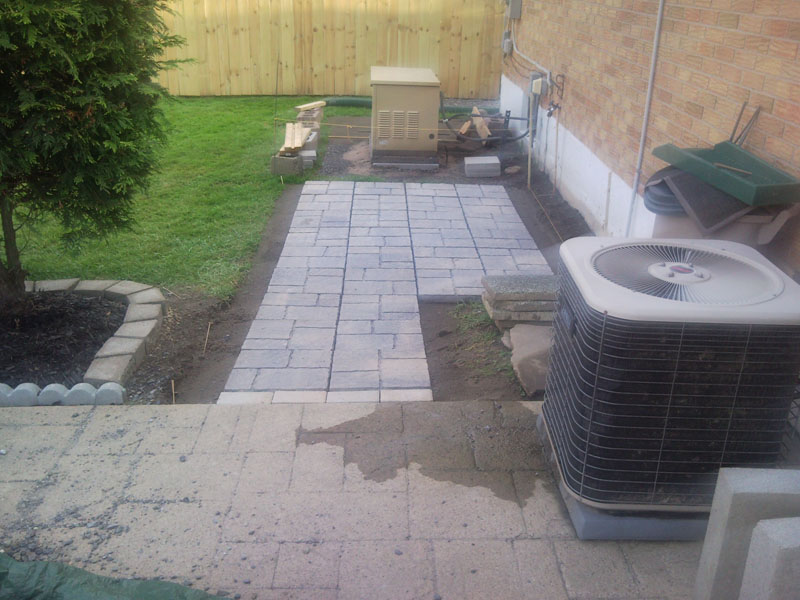
Backyard and fence progress, view from existing patio facing rear right corner of yard.
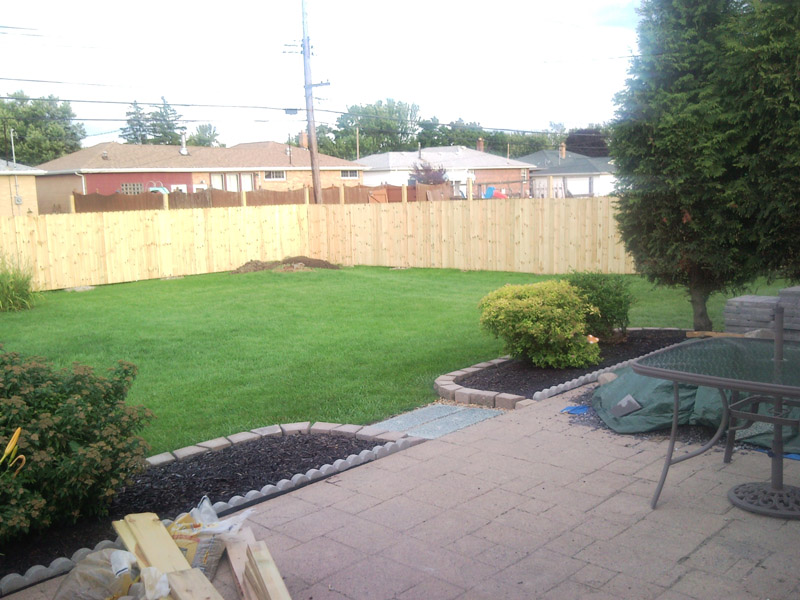
View from near the back of yard, facing toward the existing patio and back of house.
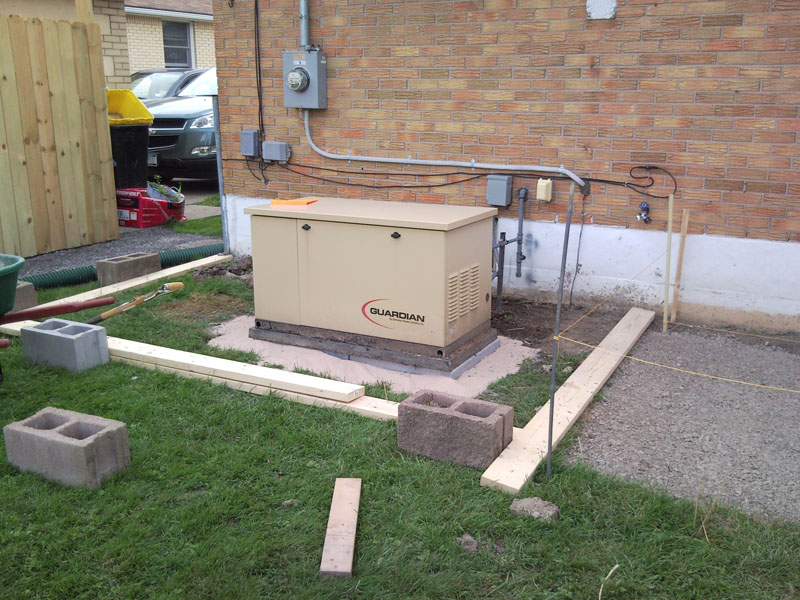
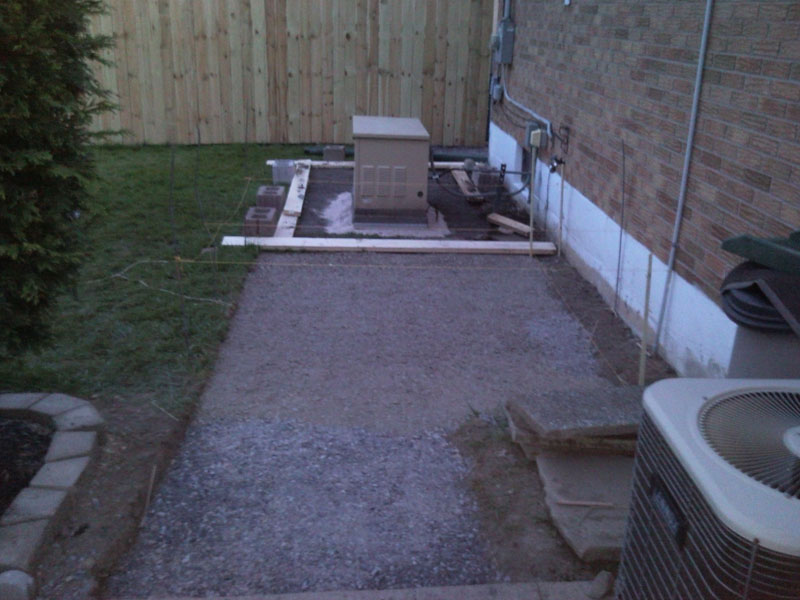
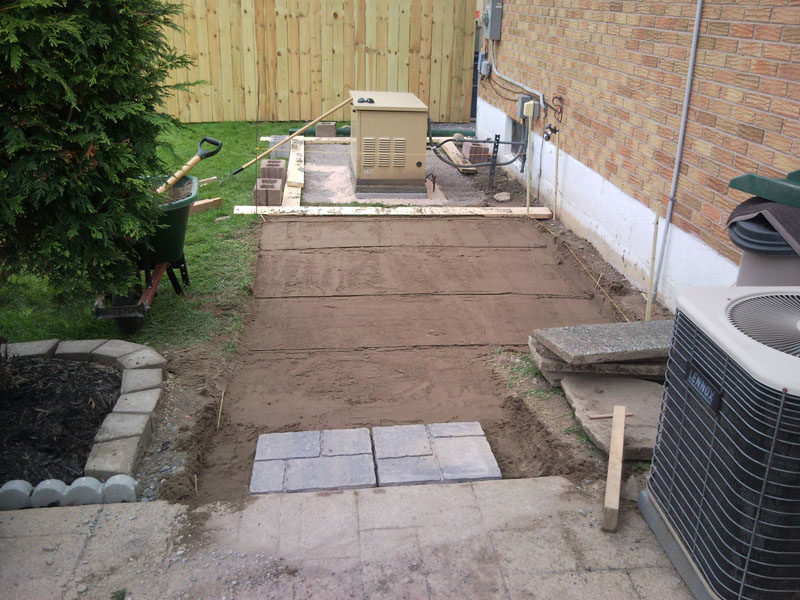
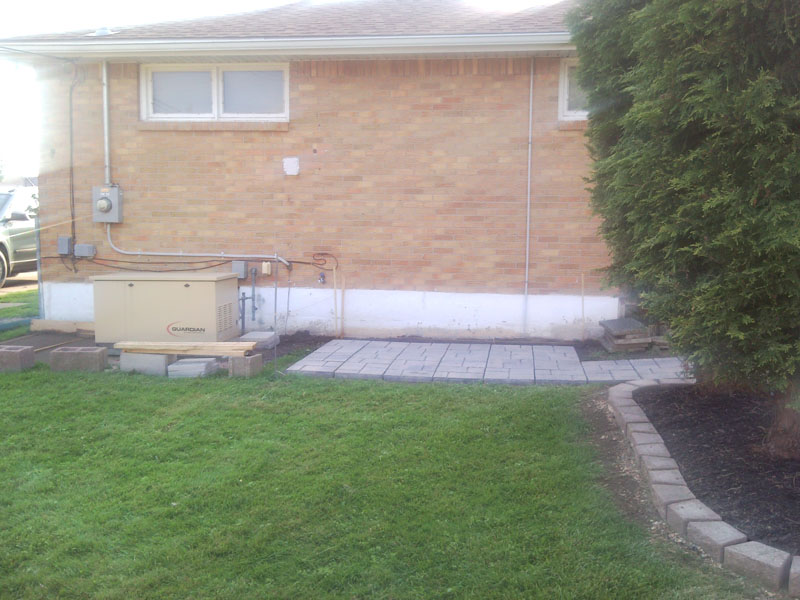
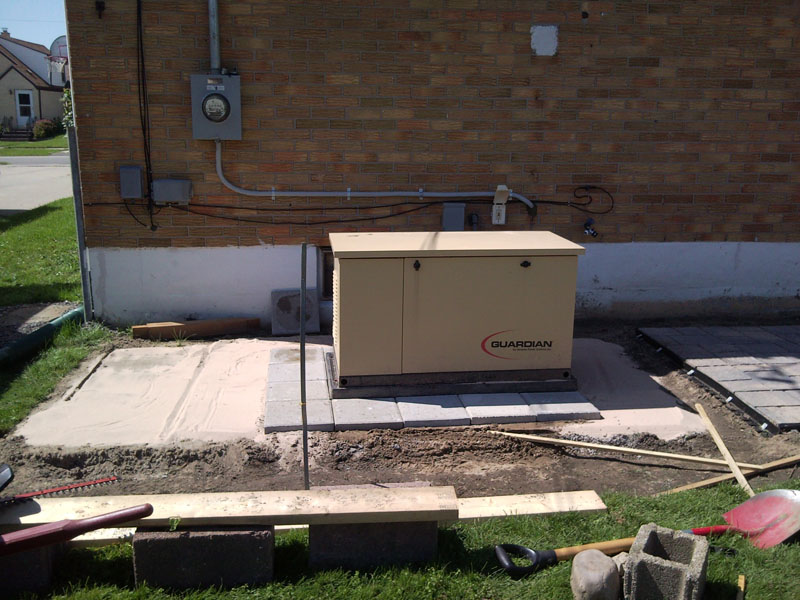
New paver pad pit behind and to left of the trees, between trees and generator.
Planning on installing two 24" plain concrete pavers under the generator + a 1' plain concrete paver border around it.
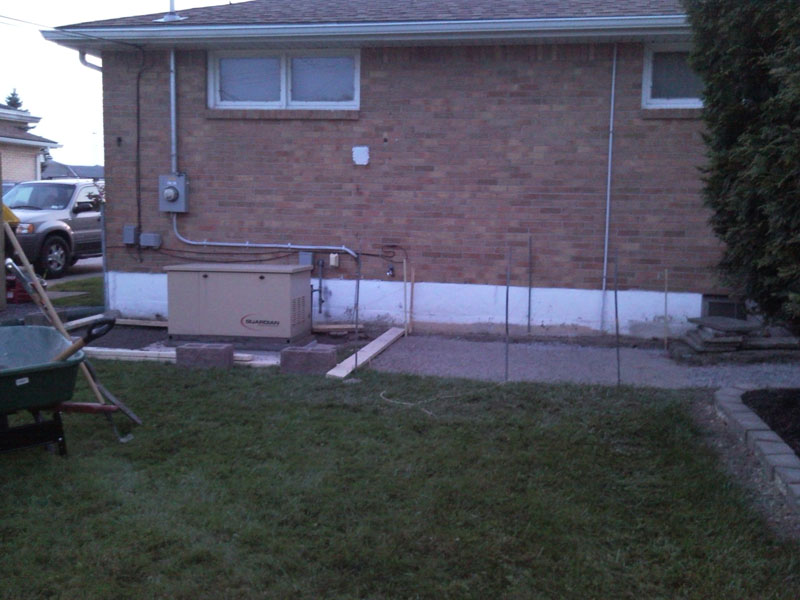
Also putting a 24" plain concrete paver pad to the left of it (1' paver framed) for the central AC which will be moved there.

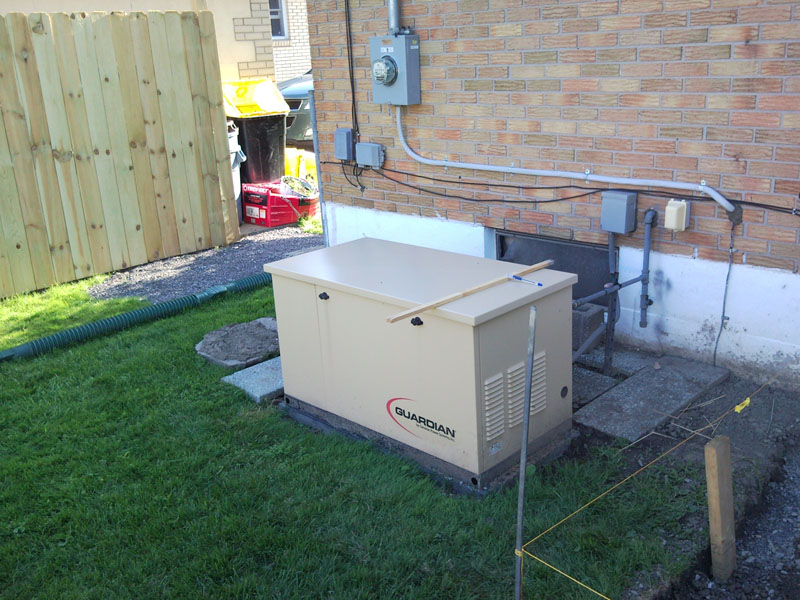
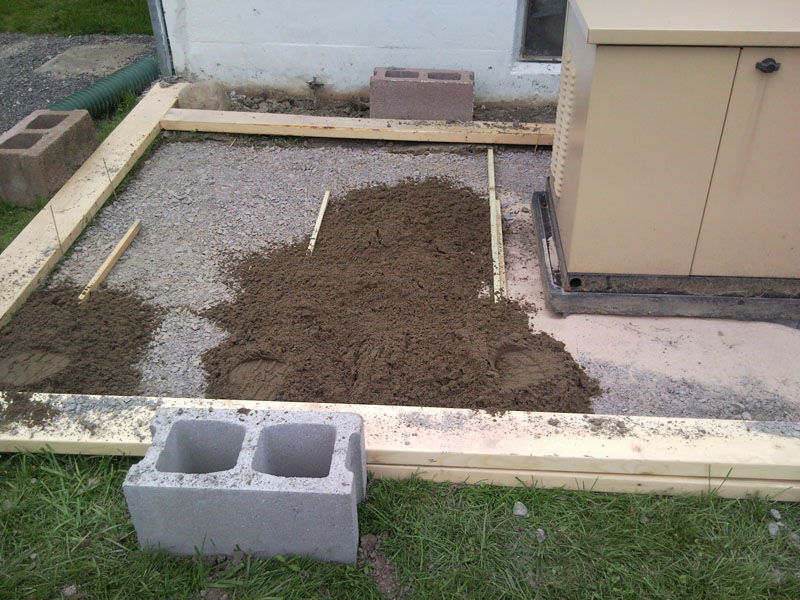
Generator was lifted onto two 2 x 6 's that sat atop cinderblocks, so that I could dig under it.
I dug a 5" deep rectangle beneath the generator, then filled it with gravel and stamped it with a heavy flat rock.
Finally I added 1" layer of sand, and two 24" paver stone tiles. The generator was then lowered onto the pavers.

I began digging a 5" pit much like the previous one. This time I used 2 x 6's to frame the outline as a guide.
This is after filling with a lot of gravel. I had to cut around the sand portion first and fill it with gravel a section at a time so it wouldnt fall.
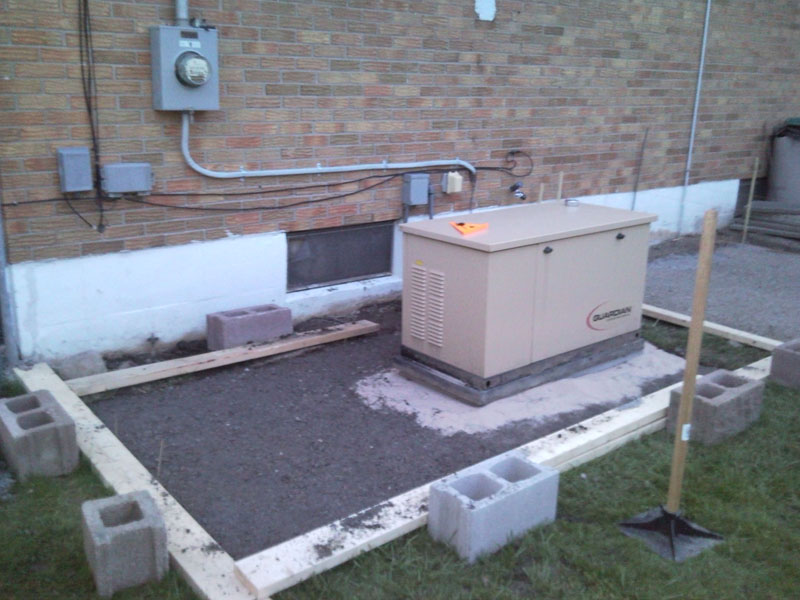
Gravel compressed very tight with "stomper"
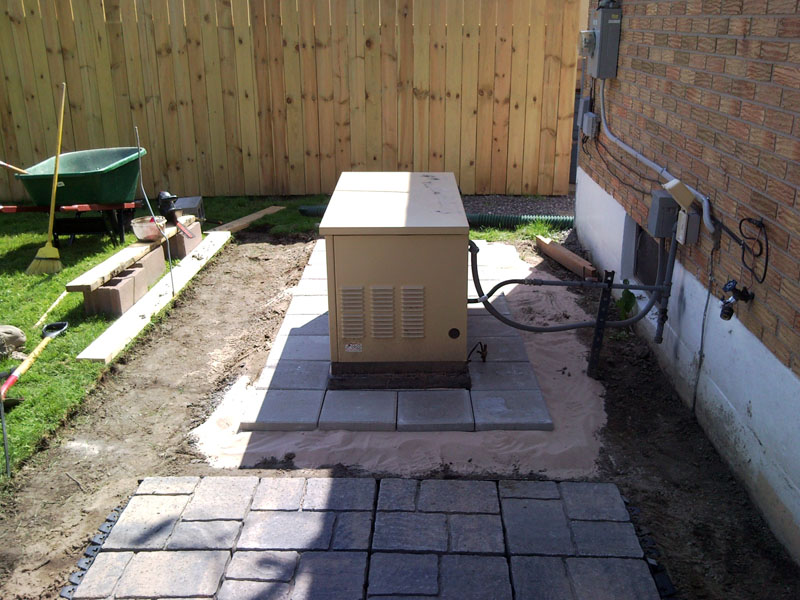
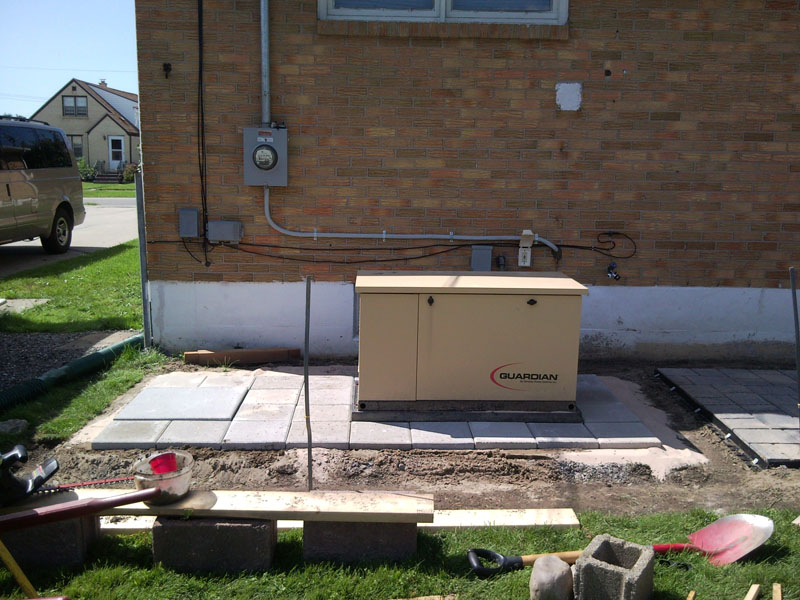
Generator area viewed toward the back right corner of the house. 1" layer of sand and some 1' plain concrete tiles to be added later.
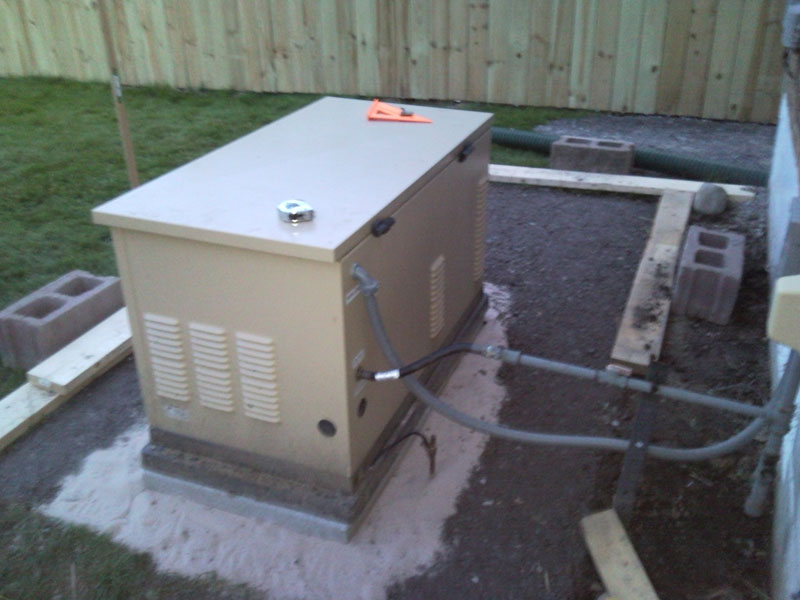
There will be one more 24" paver tile placed to the left of the generator in this picture, in prep for the central AC unit to be moved there.
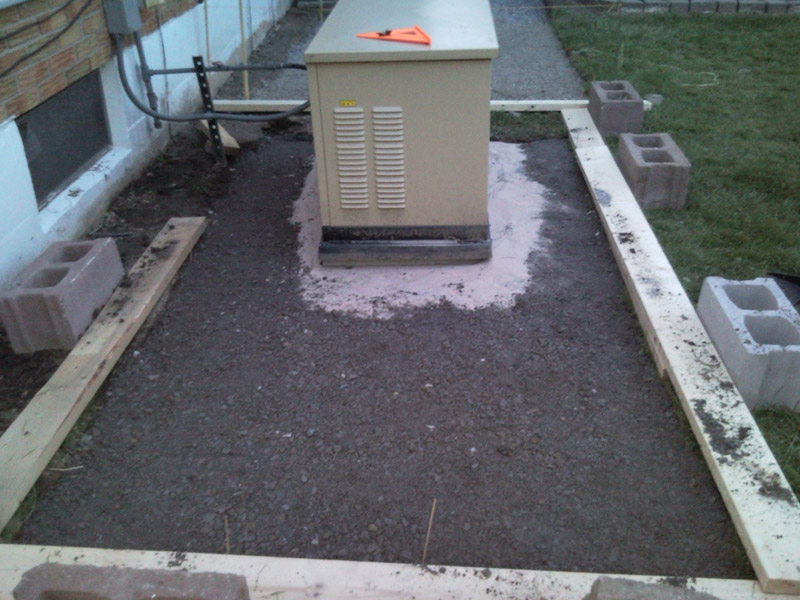
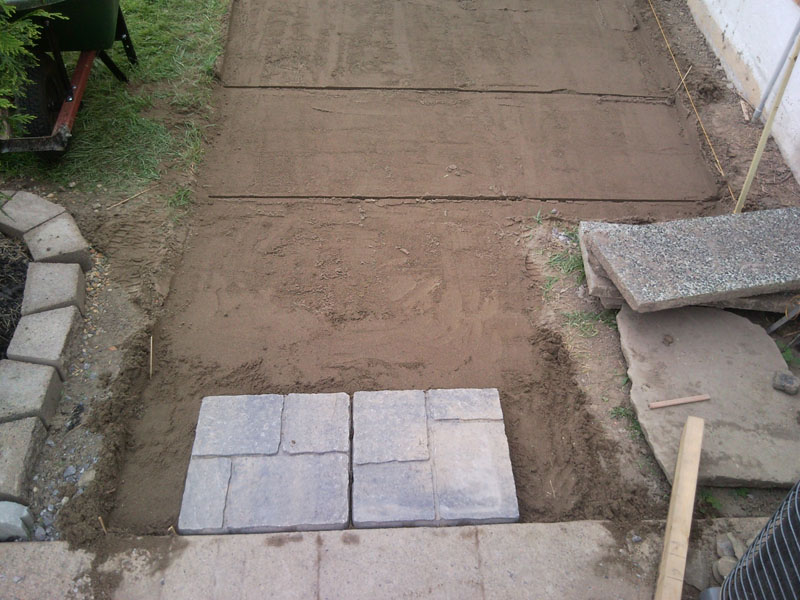
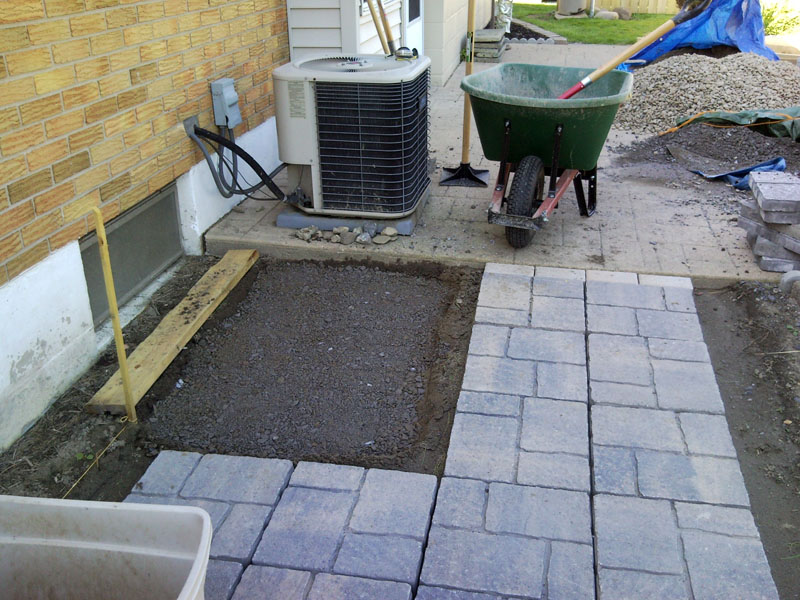
View shows both paver pads pit areas full of compressed gravel, ready for 1" sand layers and laying of paver stone tiles.
The first area will be ornamental paver stone tiles, the generator area will be plain grey concrete paver tiles.
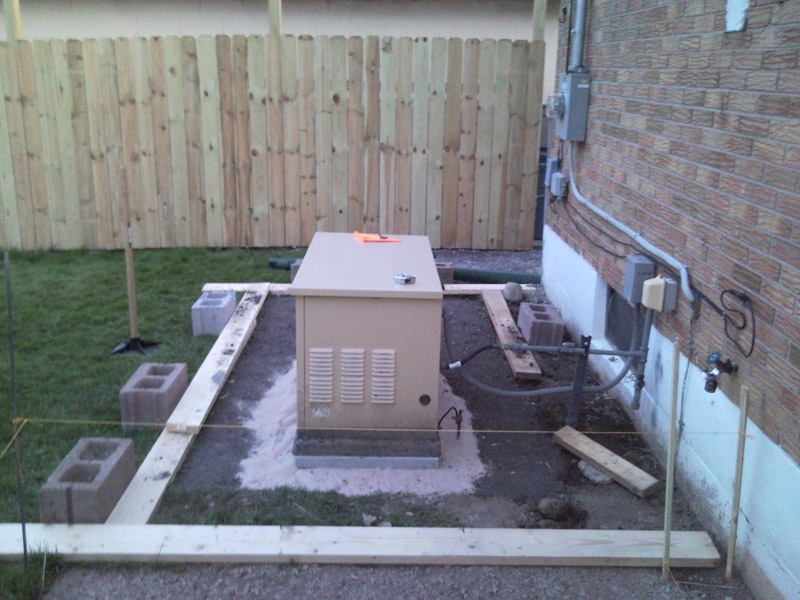
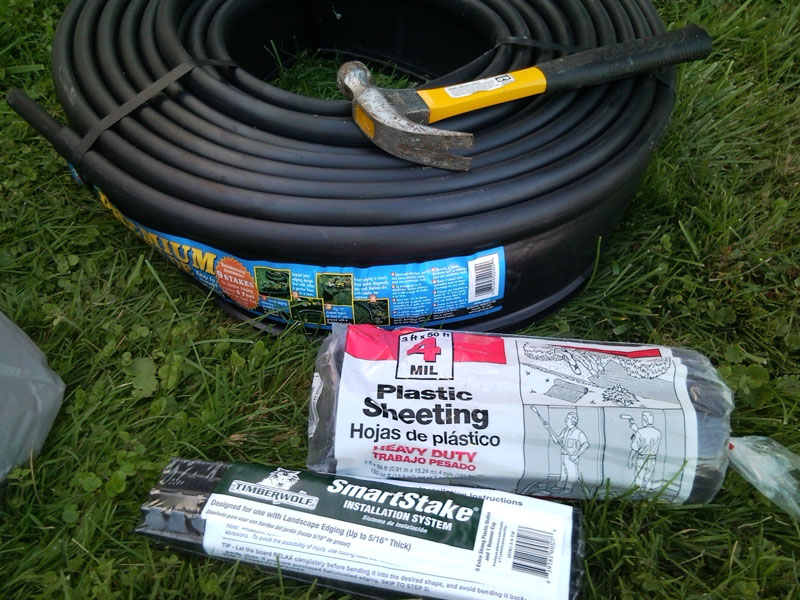
After evertying is done, I'd like to hammer some landscape edger in to box off whatever areas remain along the house after all the paver stones are laid, to be filled with slightly more "ornamental" gravel.
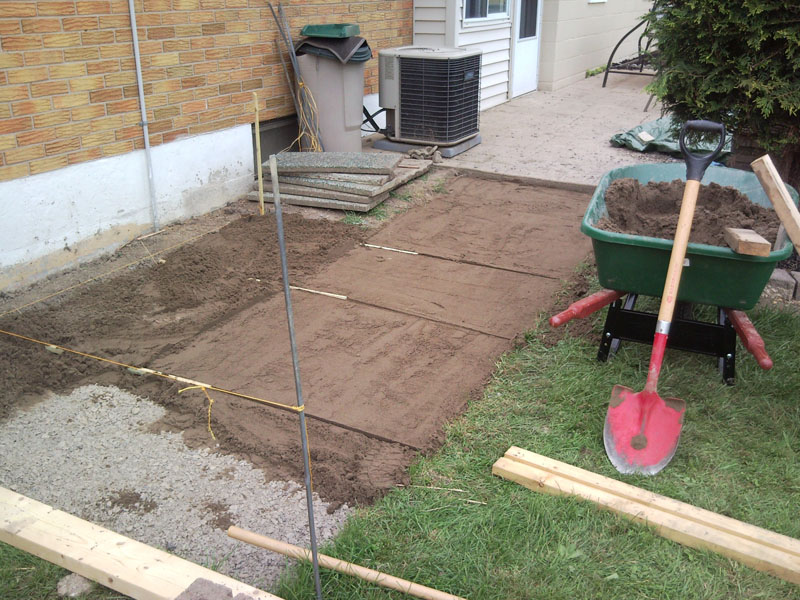
This is the part where I added sand and leveled or "screed" it with a piece of wood scrubbing across the rails I installed temporarily for that purpose.
*Project stalled out temporarily since I had to redo my living room and all of my audio/video and electronics in there, move old couch and chair out and move new couch in. I also have been working OT to pay for all of the stuff I've been doing and that wrecks the home imprv schedule.
I still have to stake edging all around all the paver tiles to hold them in place, then sweep polymer sand into the cracks between tiles and water it to form a mortar.
Then I have to lay all the 1' plain concrete tiles to form the other pad around the generator, lock it all in place with edging + stakes, and install the polymer sand the same way.
After that I'm going to dig a larger shallow rectangular area out, boxing the whole back of the house on that side off with lanscaping edging strips. This is so that I can fill a rectangular area on the back of the house with gravel (other than were the tiles are). Also as oulined earlier, the central AC will be moved to the other side of the generator, near the electric meter.
Someday I'd also like to dig a narrow strip all along the perimeter of the fence, install landscape edging, and fill it with stone. This would make it look nice and would also make it so I won't have to weedwack and mow against the fence. Another advantage would be that there would no longer be a small gap under the fence that dogs could easily undermine. (No dog yet but sometimes get a canine visitor).
9-2-09
Got to it again today. It was pretty hot out too.
After deciding that I'm going to move the central air unit to the far side past the generator,
I figured I should go buy six more paver tiles and make the whole pad a rectangle instead of having a narrow walkway.
This pic shows the dig. I went about 5" or so.
This pic shows the stomped/stamped crush&run gravel bed added.
This pic shows the six late addition paver tiles added on the right.
View of added tiles from the generator side, looking toward the main old patio and back door.
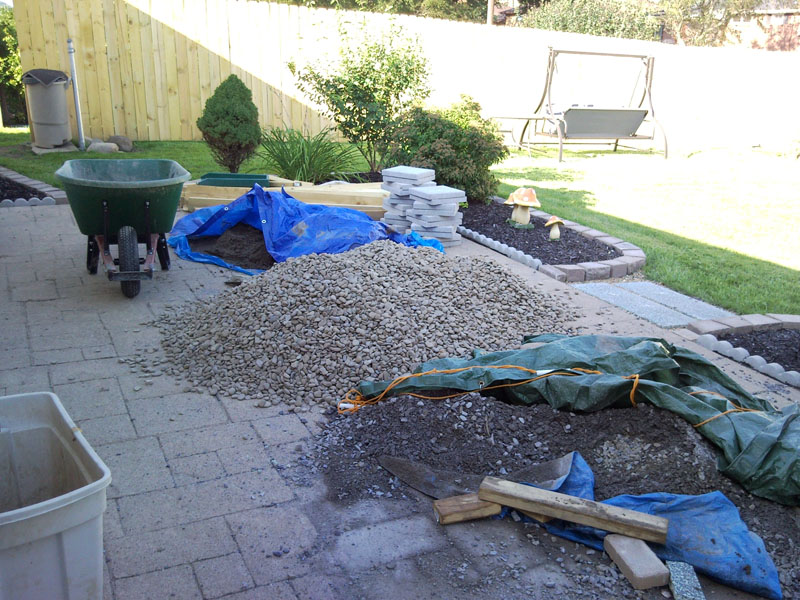
Gravel pile I picked up with my little truck. Wheel-barreled the whole thing from the street.
This pic shows the paver tile pad locked in with landscape edging + stakes. I also started digging a shallow trench on the right.
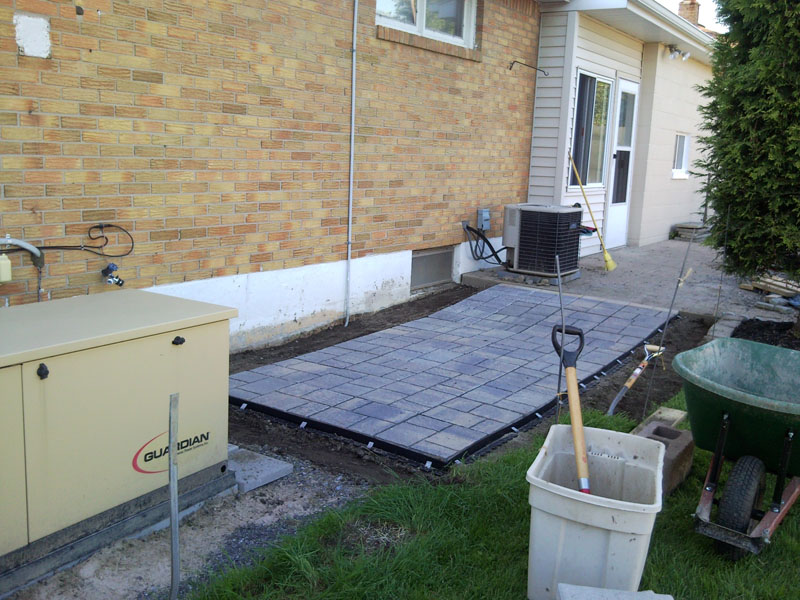
This pic shows the locked in pavers again, and my trench digging progress.
The grass patches removed were put to good use filling some bare spots in the middle of the lawn.
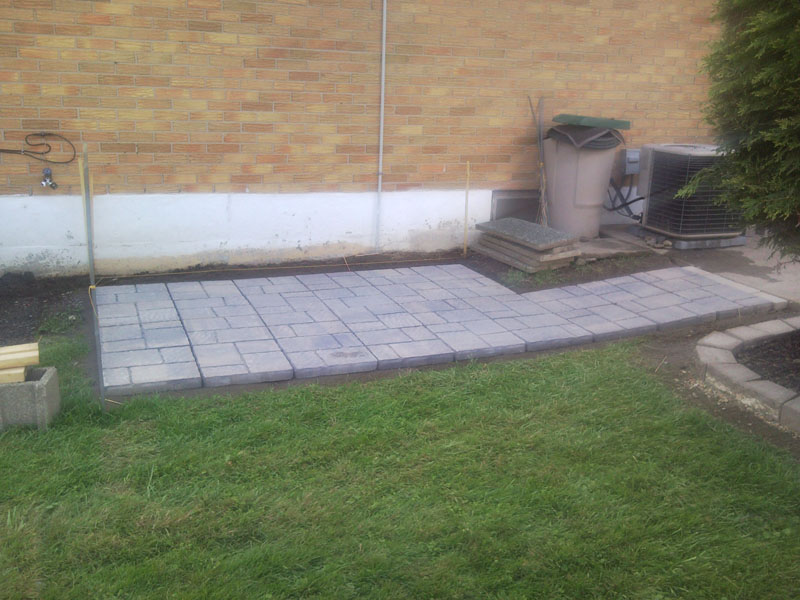
Locked in paver pad view from main patio. The surrounding trenches will be lined with landscaping edging around the perimeter.
The trenches will later be lined with thick plastic vs weeds, and then filled with the gravel from the pile.
I actually got the trench dug all the way to the end of the generator pad today but my phone/camera battery was too low to take any more pics.

Generator area, screed more sand to roughly level the area.

Laying the tiles around the generator. This pad will be a little more imprecise than the other but it will work out ok and serve its purpose.
More tiles laid. Luckily the grounding spike ended up being almost exactly between two tiles so I didn't have to move it.
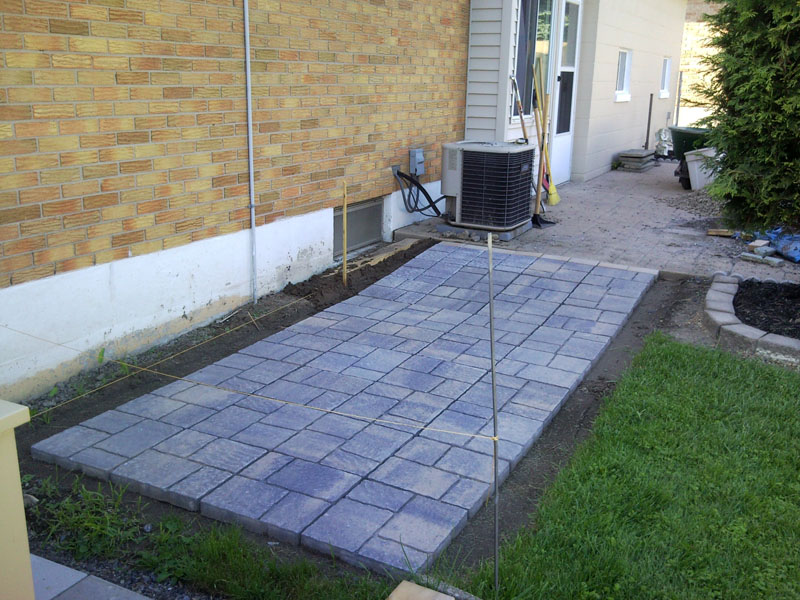
Tiles all laid out. The 24" tile on the left is for the central air unit. I leveled it perfectly but its slightly higher than the surrounding tiles.
I'll re-level the tiles on each side of it a bit before I lock the pad in with landscape edging a little later this afternoon.
9-10-09
I finally finished the paver patios. I had to get another truckload of gravel though.
I put plastic down, then hammered in some plastic landscape edging with spikes.
I had to strengthen the front of the plastic edging with soil too.
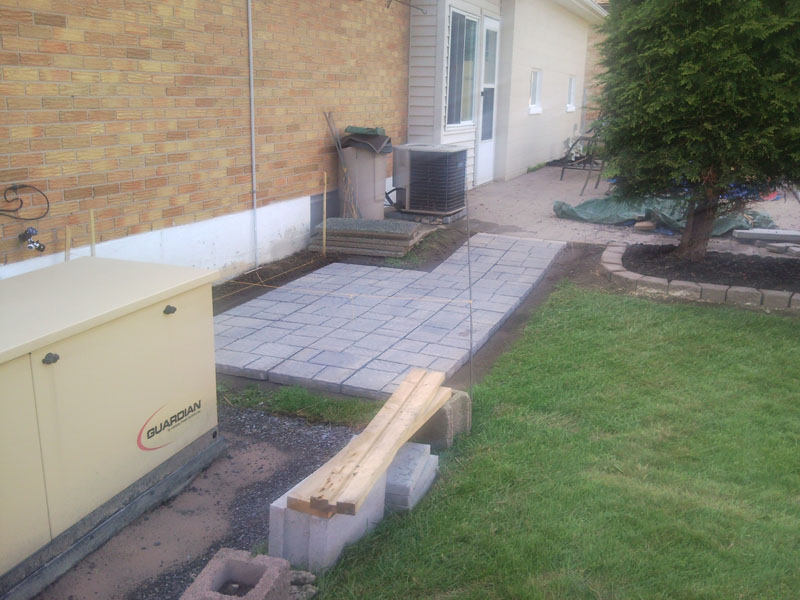
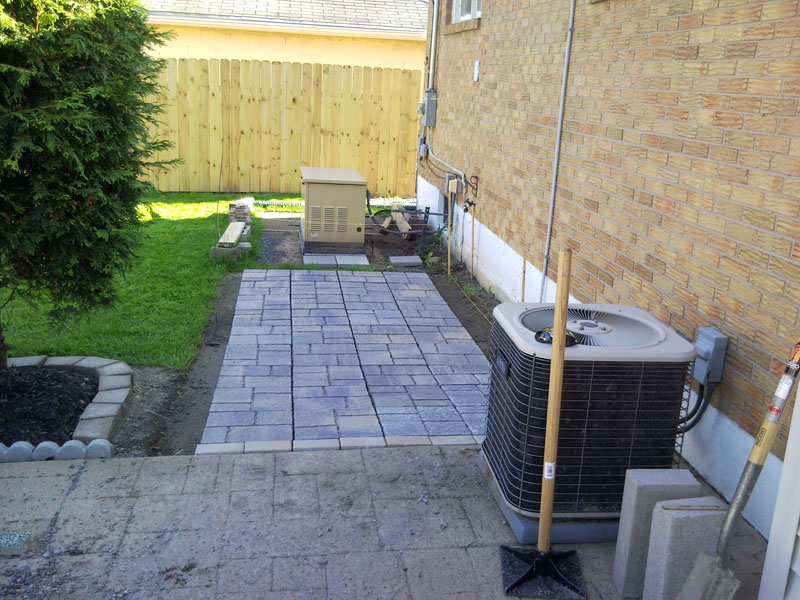
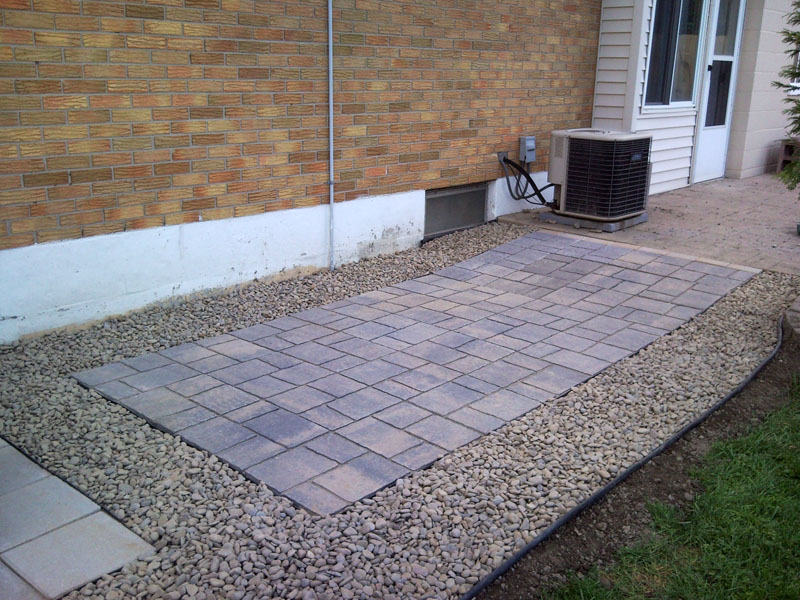
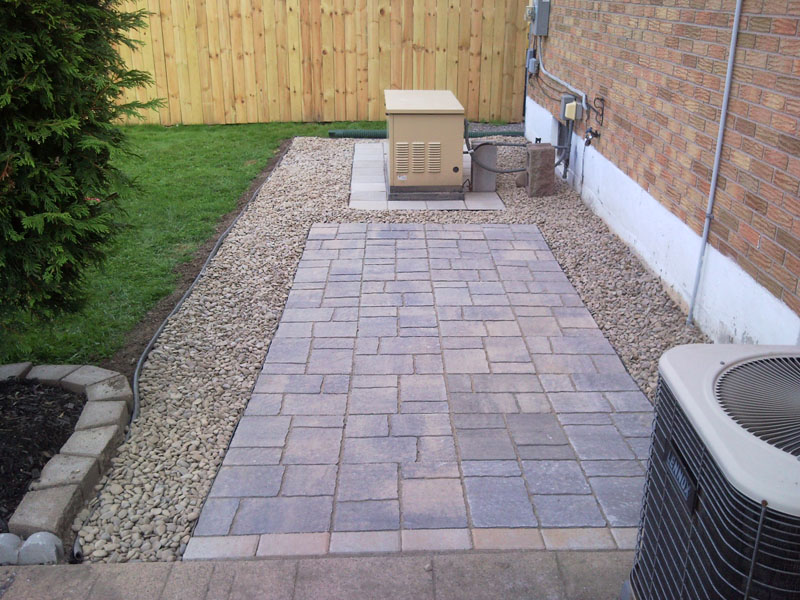
Here is the project complete for the most part.
The central AC still has to be moved to the 24" paver tile at the end of the house.
I still need to buy a natural gas grill for the left side of the middle paver patio also.

9-11-09
I still have three piles of materials on my old patio. Two different gravel types and some sand.
I need to clean that all up and powerwash it. After that I will seal the old patio and paint the
foundation of the house where the white paint is missing.
Unfortunately its supposed to rain today so that stuff has to wait.
Here are a few things I found at home depot pretty cheap. The 2.5gallon spray can is around $20.
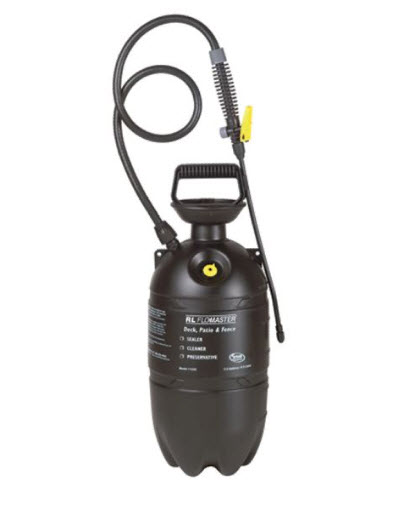
$11/gallon
Here is the two-burner natrural gas weber grill I want to get.
